Hello World! Today I will be explaining my step by step process from shoot to export!
After your photoshoot, go to your work computer or laptop and insert the SD Card from the camera into the card reader. When all the photos are imported onto your device or external hard drive, make a file and title it the name of the client, inside of that file, make a folder and title it “Original Photos”. This is where you will put the photos from your SD Card. Now that you have imported your photos in an organized manner, open your editing program and import the photos from the “Original Photos” folder. After importing your photos into your editing program, edit each photo accordingly.
Here is a photo grid that explains each step of my editing process in Lightroom:
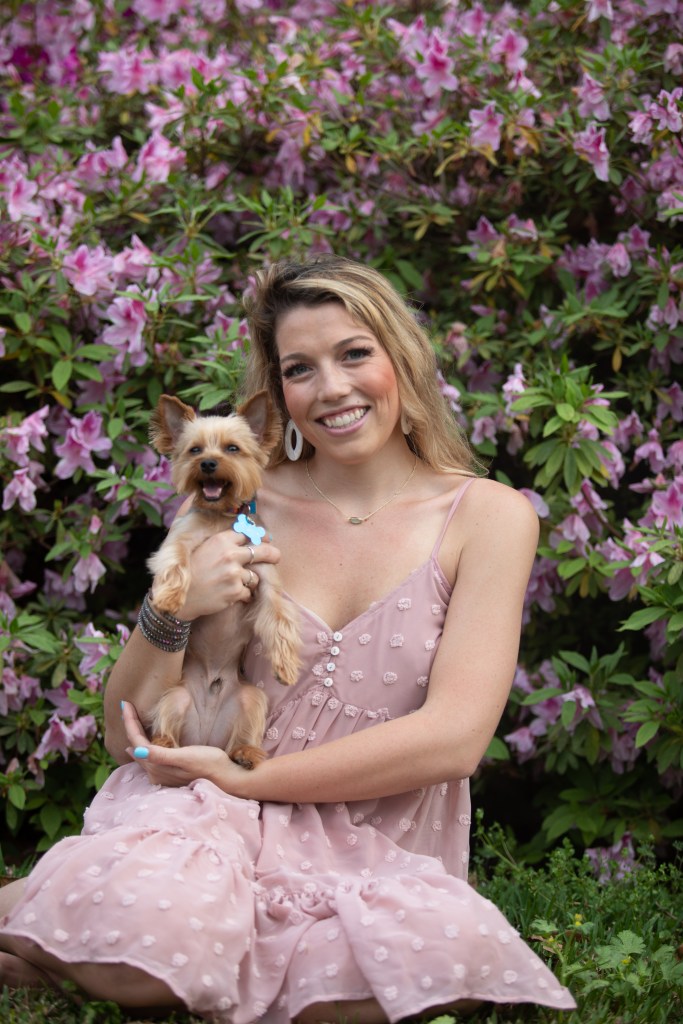
Original Photo 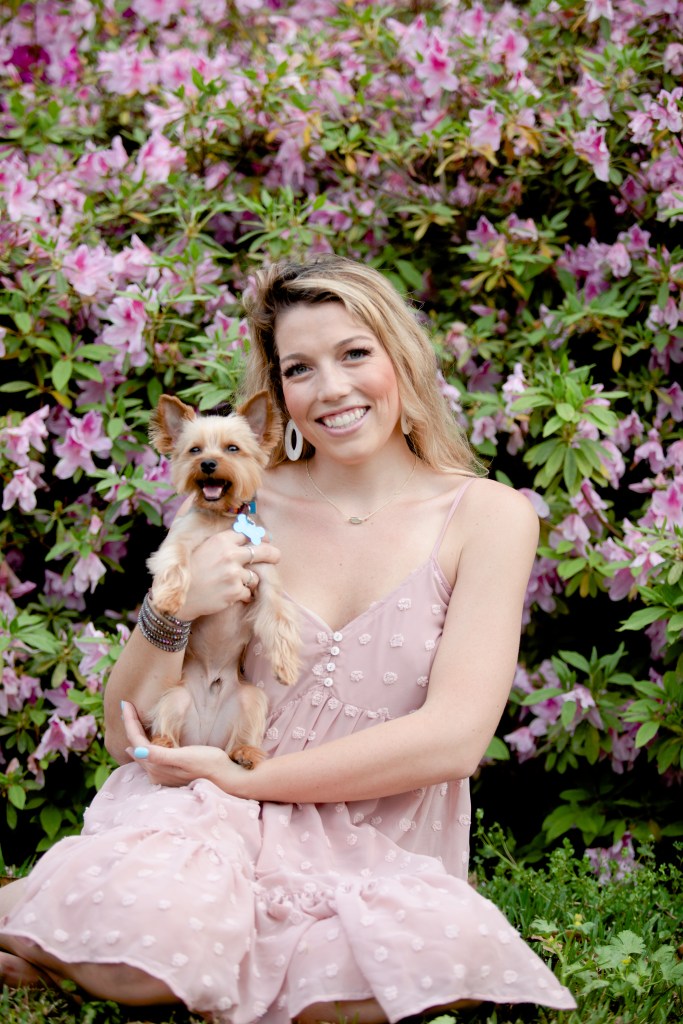
Photo after adjusting Tone Curve 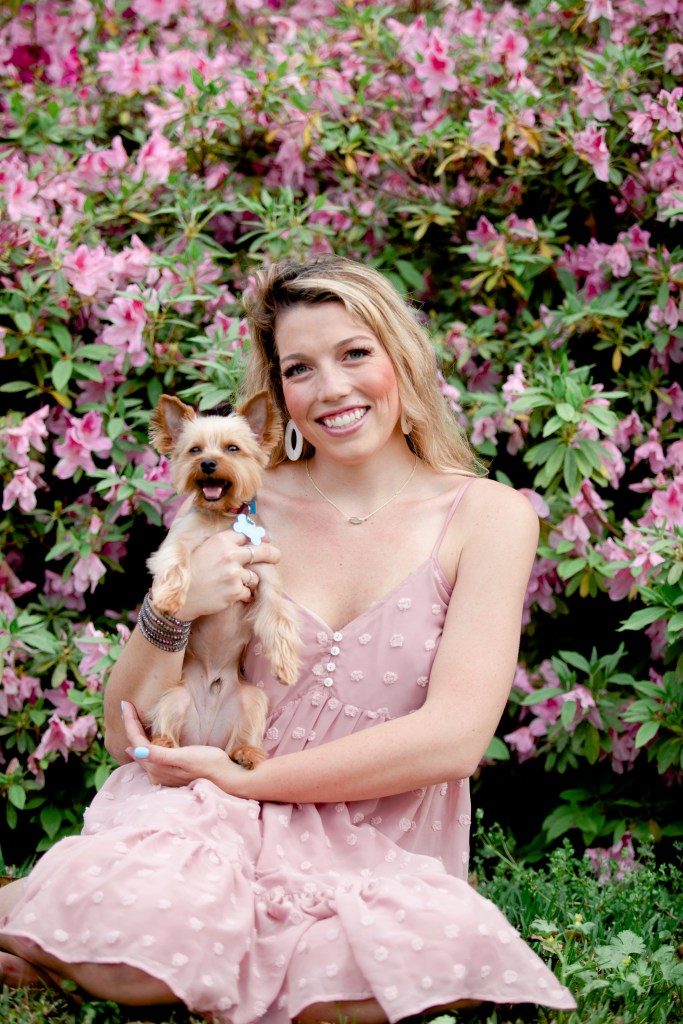
Photo after working on each color’s Hue, Saturation, and Luminance. 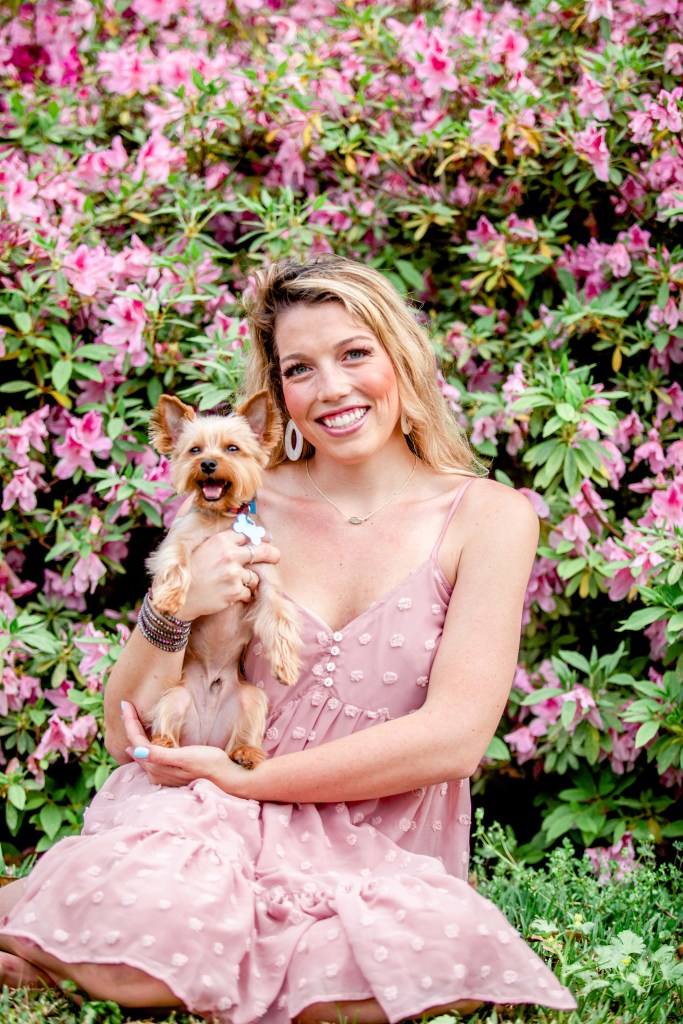
Photo after adjusting the Exposure, Contrast, Highlight, Shadows, Whites, and Blacks. 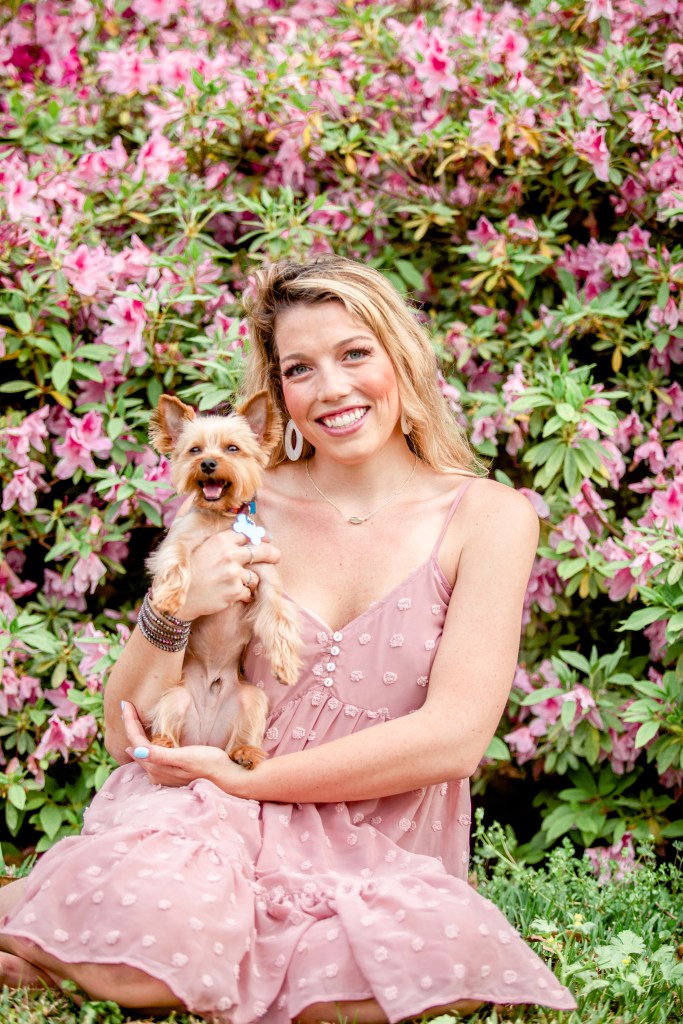
Photo after making the photo warmer and adjusting the tone. 
Final Photo! Photo after being cropped and exported into “Edited” Folder.

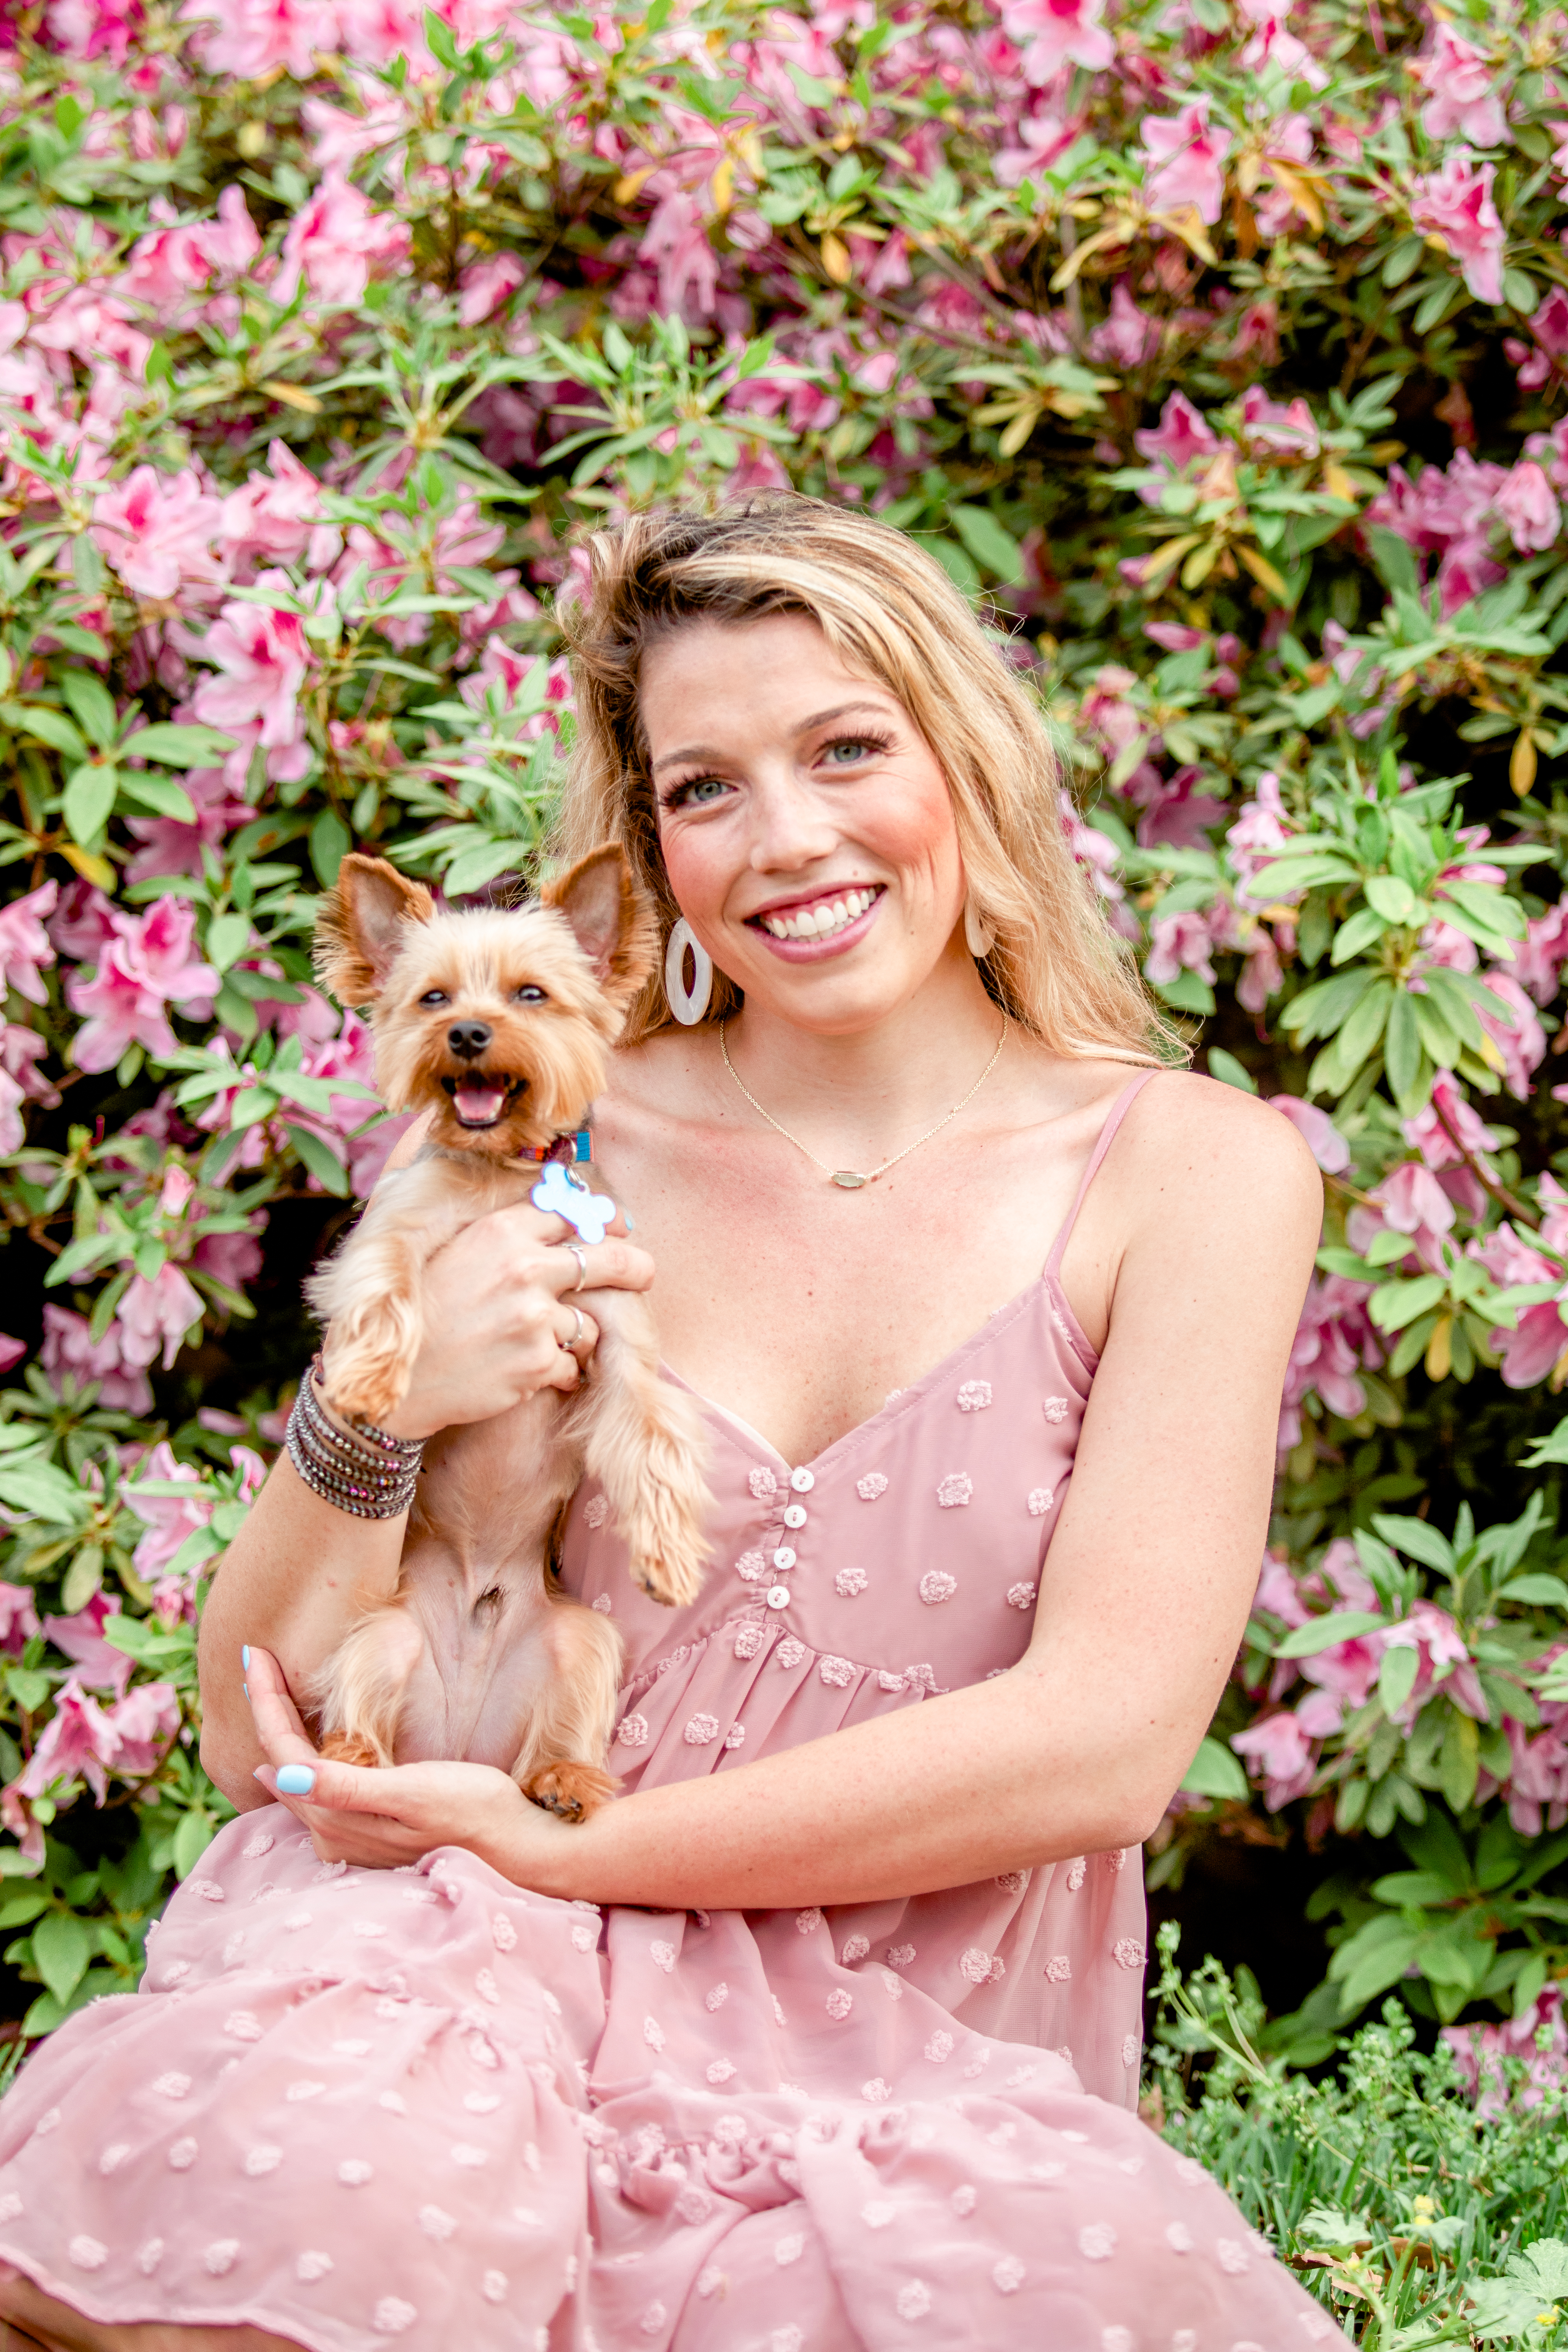
Here is the photo before and after editing.
PRO TIP: To make your photo look a little more professional, try playing around with the brush tool in Lightroom and make the model’s eyes and teeth lighter.
After you have completed the editing process of your photos, export your folders into a new folder and title it “Edited”. This is the best way to stay organized with your photography business. One thing that I highly suggest is to purchase an external hard drive and keep every photo you take. Yes, EVERY PHOTO! Even the originals! You never know if a client will come back in 15 years asking if you could re-send their photos.
If you’re interested in purchasing a great editing tool, my top choice is Adobe Lightroom. It has so many different tools you can use to edit your photo while keeping its high quality! Try it today! Happy Editing!
